This little tutorial will show you how simple it is to enable a prepackaged Urdu keyboard layout in Plasma desktop environment running on GNU/Linux.
First, open the applications menu and look for System Settings.

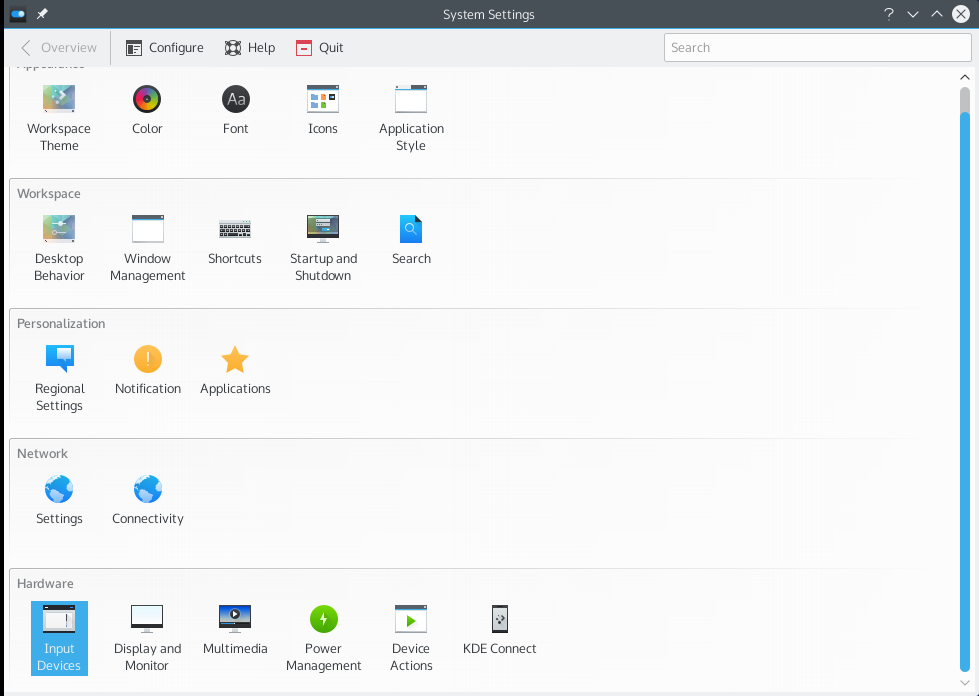
It will open up the Plasma Desktop control panel. Click Input Devices from the list.
From there, select the Layouts tab under Keyboard settings. You will see a screen similar to what is shown below.
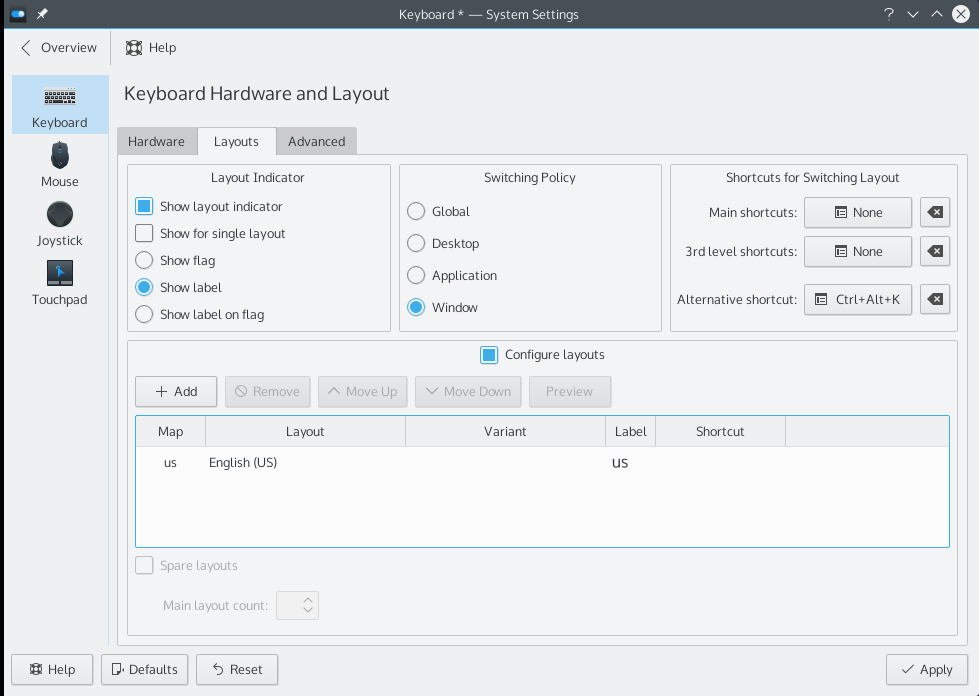
If Configure layouts is not checked, enable it. Below, you will see a list of keyboard layouts that are currently enabled. If the list is empty, better add a default keyboard layout (usually English) first. To add a layout, press the Add button above the layouts list.
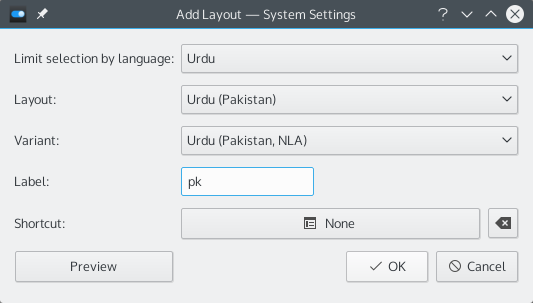
You will see a screen similar to the above. In this example, we are adding the NLA variant of the Urdu keyboard layout. You can give it a label you’d want to see in the keyboard layout indicator. Press OK and you have just added Urdu to the list of languages you can write.
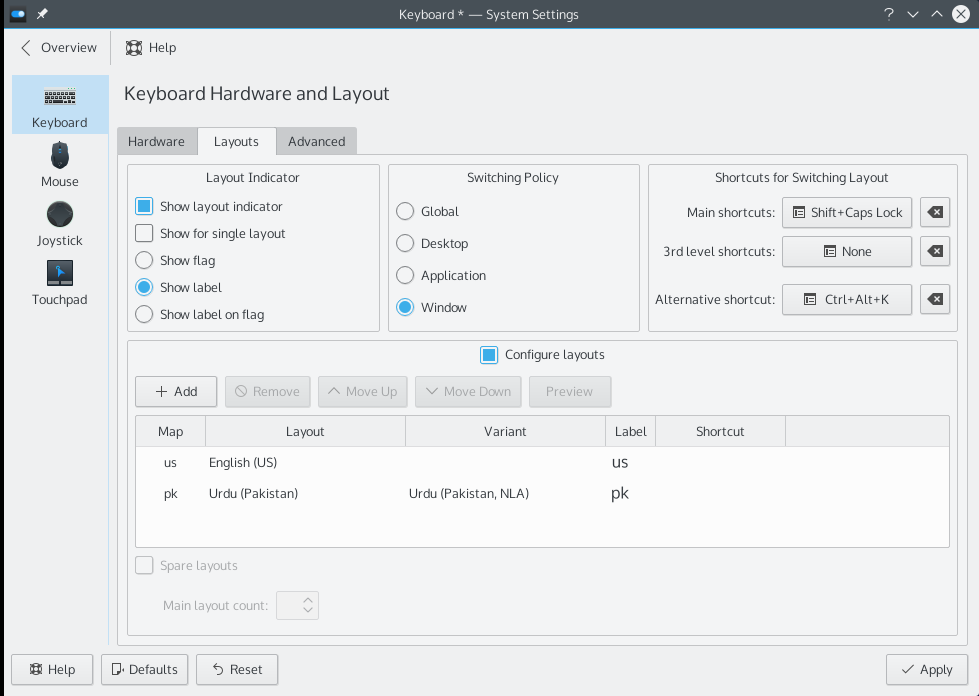
If you want to configure the shortcut for switching keyboard layouts, you can either use the Main shortcuts button above the layouts list
or simply go to the Advanced tab and scroll till you find Switching to another layout.

After you have applied the settings, you will see a keyboard layout indicator appear in the notification area. You can now switch keyboard layouts either by clicking it or by using the shortcut you set for yourself.

All done! Happy writing! 🙂